
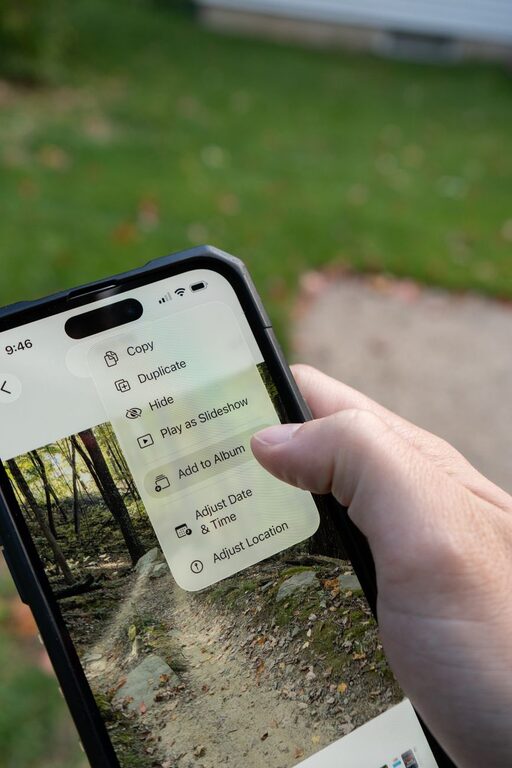
Digital photos are easy to take and difficult to manage. A few years of phone pictures, screenshots, downloads, and shared images can quickly turn into thousands of files spread across devices and apps.
The good news is that you do not need to organize everything in one weekend. A simple system, completed in small steps, can make your photo collection easier to search, protect, and enjoy. The key is to focus on progress rather than perfection.
Start With a Simple Goal
Before moving files or creating folders, decide what you want your photo library to do for you. Most people want to:
– Find important photos quickly
– Keep personal memories in one reliable place
– Remove obvious duplicates and mistakes
– Protect photos from device loss
– Make it easier to print or share images
You do not need to create a perfect archive. Your system only needs to be clear enough that you can maintain it over time.
If your photo collection is large, begin with photos from the current year or one important event. Once you have a method that works, you can gradually organize older files.
Gather Photos Into One Main Library
Photos are often scattered across phones, computers, memory cards, messaging apps, and cloud services. Start by identifying where your images are stored.
Common locations include:
– Smartphone camera folders
– Computer folders
– External drives
– Cloud photo services
– Social media downloads
– Messaging and email attachments
– Digital camera memory cards
Choose one primary photo library. This can be a computer photo app, a cloud service, or a well-organized folder system. The best choice is the one you will use regularly.
Copy photos into the main library rather than deleting them from their original locations immediately. Keeping the original files temporarily gives you a safety net while you check that the transfer worked correctly.
Use a Folder Structure That Is Easy to Understand
A straightforward folder system is usually better than a highly detailed one. Too many categories can make filing slow and confusing.
A useful structure is:
– Photos
– 2024
– 2025
– 2026
Inside each year, you can create folders for specific events or groups of photos:
– 2026
– 2026 01 Winter
– 2026 03 Family Visit
– 2026 06 Beach Trip
– 2026 08 Birthday
Starting folder names with the year and month keeps them in chronological order. Use names that describe the event clearly, such as “2026 07 Camping Weekend,” instead of vague names like “Trip” or “New Photos.”
You may prefer folders based on people, places, or projects. That can work, but date-based folders are often easier to maintain because most photos already include date information.
Sort Photos in Short Sessions
Trying to organize thousands of photos at once can feel impossible. Instead, work in short sessions of 15 to 30 minutes.
During each session, focus on one small group, such as:
– One month
– One holiday
– One device
– One folder
– One year of photos
Use a simple decision process for each image:
- Keep it
- Delete it
- Review it later
The “review later” option helps you avoid getting stuck. Create a temporary folder called “To Review” and move uncertain files there. Set a reminder to return to this folder after the main sorting is complete.
Do not spend several minutes evaluating a nearly identical image. If you have ten similar pictures, keep the clearest or most meaningful one and remove the rest.
Remove Low-Value Files First
You do not have to judge every photo emotionally. Start with files that are easy to identify and remove.
Look for:
– Blurry images
– Accidental pocket photos
– Blank or nearly blank pictures
– Duplicate downloads
– Screenshots you no longer need
– Images with poor lighting
– Multiple versions of the same photo
– Temporary images saved from websites or messages
Deleting these files creates space and makes the remaining collection easier to review. If you are unsure about an image, keep it until you have a backup and feel comfortable making a final decision.
Create a Small Set of Useful Albums
Folders are helpful for storing files, while albums are useful for viewing and sharing them. Albums can bring together photos from different dates or locations without changing where the original files are stored.
Useful album ideas include:
– Family
– Friends
– Pets
– Travel
– Celebrations
– Favorite photos
– Photos to print
– Important documents
Avoid creating an album for every minor event. A smaller number of useful albums is easier to maintain and more likely to help you find what you need.
If your photo app supports keywords or labels, use them sparingly. A few consistent labels, such as “vacation,” “birthday,” or “school,” can be helpful. There is no need to label every image manually.
Use Consistent File Names When Needed
Many photo apps organize images automatically using dates and visual search tools. However, clear file names can still help when you work with folders or share files outside your photo app.
A practical naming format is:
`YYYY-MM-DD Event Description`
For example:
`2026-08-11 Family Picnic`
If several photos were taken on the same day, you can add a short number:
`2026-08-11 Family Picnic 01`
Do not worry about renaming every file in your collection. Apply a naming system to new photos or important folders first. Consistency matters more than complexity.
Build a Backup System
Organization is only useful if your photos are protected. Keep at least two copies of important photos in different locations.
For example:
– One copy on your computer
– One copy on an external drive or cloud service
For especially valuable photos, consider keeping a third copy in a separate location. An external drive stored next to your computer may not help if both are damaged or lost at the same time.
Check your backups occasionally. A backup is more useful when you know it contains the files you expect and can be opened successfully. You can test this by restoring a few photos to another folder.
Also, make sure automatic phone backups are enabled if you rely on them. Review the settings periodically so you understand which photos are being uploaded and where they are stored.
Make Organizing Part of Your Routine
A small weekly or monthly habit can prevent another large backlog. After an event or trip, spend a few minutes completing these tasks:
– Delete obvious mistakes
– Move photos into the right folder or album
– Mark favorite images
– Back up new files
– Clear unnecessary screenshots and downloads
You can also choose one organizing task for the first day of each month. For example, review the previous month’s photos and create a simple album.
The goal is not to organize every photo perfectly. The goal is to prevent your library from becoming harder to manage.
Give Yourself Permission to Keep It Simple
Digital photo organization often becomes overwhelming because people try to create a system with too many rules. You do not need separate folders for every person, location, camera, and occasion.
Start with three basic principles:
– Store photos in one main library
– Organize by year and event
– Back up important files
You can add albums, labels, and improved file names later if they solve a real problem. A simple system that you maintain is far more useful than a complicated system you avoid.
Begin with one folder, one month, or one special event. Once that small area is under control, the rest of your photo collection will feel much more manageable.
About the Author